
A kitchen island is one of the most requested features in custom kitchen builds across the Macarthur region. Families want the extra bench space, the casual seating, and the visual anchor that an island creates in an open plan home. But not every kitchen has room for one. And the wrong size island can make a kitchen harder to use, not easier.
Getting the dimensions right matters more than most people expect. An island that is too big chokes the walkways around it. One that is too small becomes a surface that collects mail instead of a functional workspace. Here is how to size it properly.
The Clearance Rules That Cannot Be Ignored
Before you decide how big your island should be, you need to know how much space the room can give up.
The minimum clearance between the island and any surrounding benchtop, wall, or appliance is 900mm. That is enough for one person to walk through comfortably. If you want two people to work in the kitchen at the same time, which most families do, the clearance should be 1,000mm to 1,200mm.
If the island includes seating on one side, you need to add another 900mm behind the stools for the person sitting to push back and stand up without blocking the walkway. This is the measurement that gets missed most often. People plan the island width but forget that chairs take up floor space behind them.
In a typical open plan kitchen in suburbs like Mount Annan or Narellan, the kitchen zone might measure 4,000mm by 3,500mm. After you subtract 1,000mm clearance on all four sides, the maximum island footprint is roughly 2,000mm by 1,000mm. That is a useful working size, but it is smaller than most people picture when they imagine their dream island.
What Size Island Works for What Room
Here is a general guide based on the kitchen zones we measure most often.
Small kitchens (under 12 square metres): An island is usually not practical in this size room. A mobile butcher’s block or a slim breakfast bar attached to the bench run is a better use of space. Forcing an island into a small kitchen creates more problems than it solves.
Medium kitchens (12 to 18 square metres): An island of 1,200mm to 1,800mm long and 600mm to 900mm deep fits well. This gives you prep space on the working side and room for two stools on the outer edge. Keep the island simple at this size. A sink or cooktop on the island works, but adding both creates a cramped working surface.
Large kitchens (over 18 square metres): Islands of 2,000mm to 2,800mm long and 900mm to 1,200mm deep work in larger rooms. At this size, you can integrate a sink, add a raised bar section, or include storage drawers on the kitchen side. Large islands become the centre of the room, so the proportions need to match the surrounding space. An island that is too small in a big kitchen looks like an afterthought.
When to Put a Sink on the Island (And When Not To)
Moving the sink to the island changes the work triangle and the plumbing requirements. It adds cost, and it is not always the right call.
A sink on the island works well when the cooktop is on the wall behind you. This places the prep zone (island sink) directly between the cooking zone (cooktop) and the cleaning zone (dishwasher under the island). It tightens the work triangle and keeps the messiest tasks away from the seating area.
A sink on the island does not work well when the plumbing run is too long or when the island faces the living room. Dirty dishes piling up in a sink that is visible from the couch is one of the most common regrets we hear from homeowners who chose this layout.
If you want the island to face the living area, keep it as a clean prep surface with storage underneath, and leave the sink on the back wall behind a section of overhead cabinetry.
The Overhang Question: Seating vs Storage
If your island includes seating, the benchtop needs to overhang the base cabinet by at least 300mm to give knee room for the person sitting. A 400mm overhang is more comfortable for adult seating.
That overhang needs structural support. A cantilevered stone benchtop longer than 300mm requires hidden brackets or a steel frame inside the island to prevent cracking over time. This is a detail that many flat pack or DIY island builds miss. The benchtop looks fine on install day, but the unsupported stone flexes slightly with daily use and eventually cracks at the join.
Custom-built islands account for this from the design stage. The support structure is built into the cabinet, so the benchtop sits flat and stays flat for the life of the kitchen.
If seating is not a priority, skip the overhang and use the full island footprint for storage. Deep drawers on the kitchen-facing side are one of the most useful features in any kitchen. They hold pots, pans, baking trays, and bulk pantry items at waist height, which is far more accessible than an overhead cabinet.
Common Island Mistakes to Avoid
Making the island the same height as the surrounding benchtops when you want bar seating. Standard bench height is 900mm. Bar stool height requires 1,050mm to 1,100mm. If you want a seating zone at bar height, either raise a section of the island or accept that standard stools will not fit comfortably.
Adding too many functions to a small island. A sink, a cooktop, a prep zone, and seating all on one island sounds efficient. But on an island under 2,000mm long, those functions compete for space and nothing works well. Pick two functions and do them properly.
Ignoring the power point. If your island will have a mixer, a blender, or a phone charger, you need at least one power point on the island. This requires floor wiring during construction or renovation. Retrofitting a power point to an island after the floor is tiled is expensive and disruptive.
Choosing a benchtop colour that shows every mark. Dark stone benchtops show fingerprints, water marks, and crumbs more than lighter tones. If your island is the centre of a busy family kitchen, choose a mid-tone with subtle veining or pattern. It hides daily mess and still looks clean between wipe-downs.
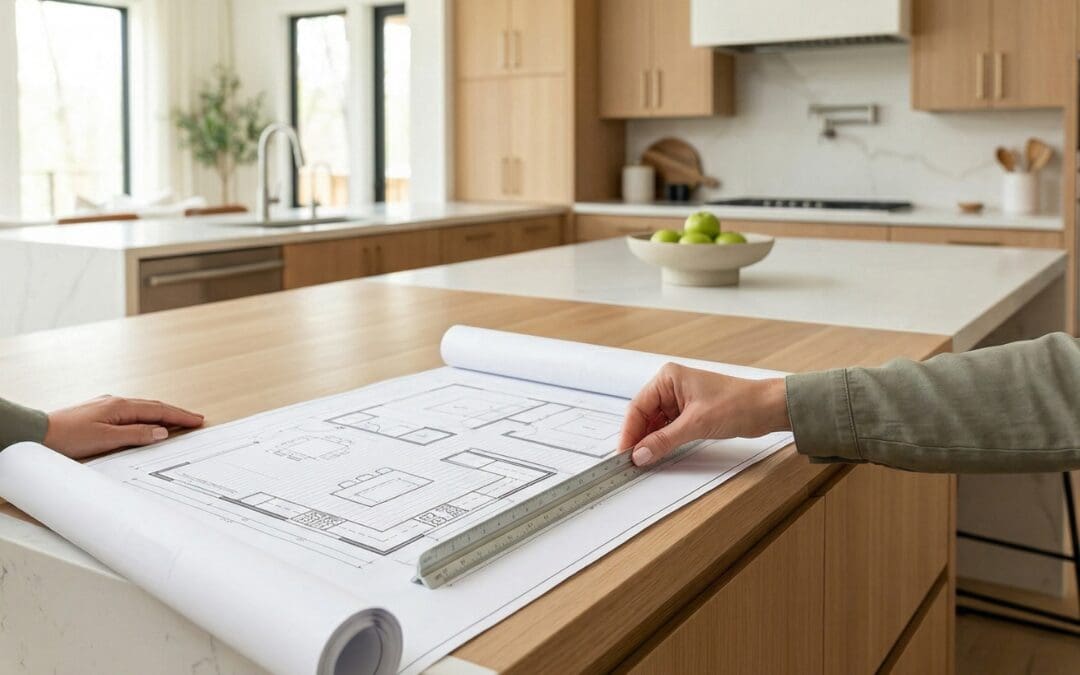
Get the Measurements Right Before You Commit
The best way to size an island for your kitchen is to start with a proper floor plan. Not a sketch on a napkin, but a measured layout that accounts for wall positions, appliance clearances, doorways, and traffic flow.
At Cobbitty Grove, every kitchen project begins with detailed measurements and a 3D design that shows exactly how the island fits in the room. You can see the clearances, the seating position, and the storage layout before anything is built. That process removes the guesswork and prevents expensive mistakes.
If you are planning a kitchen with an island and want to get the size right, contact the Cobbitty Grove team for a design consultation. We will measure your space and show you what fits, what works, and what to skip.